Are you a marketer planning to connect with your audience? Do you need to inform, promote, or contact them? If this sounds like you, you are in the right place.
Facebook boasts 3 billion active users. This platform allows you to use the Facebook Live feature to connect with your customers or potential audience with Evmux.
Evmux offers fantastic features to increase the success of your Facebook group live stream, whether you are hosting alone or have a co-host. From collaborating effectively to engaging the audience and editing your videos, you can do much when using Evmux to live stream to a Facebook group. Keep reading for more details.
What is Evmux?
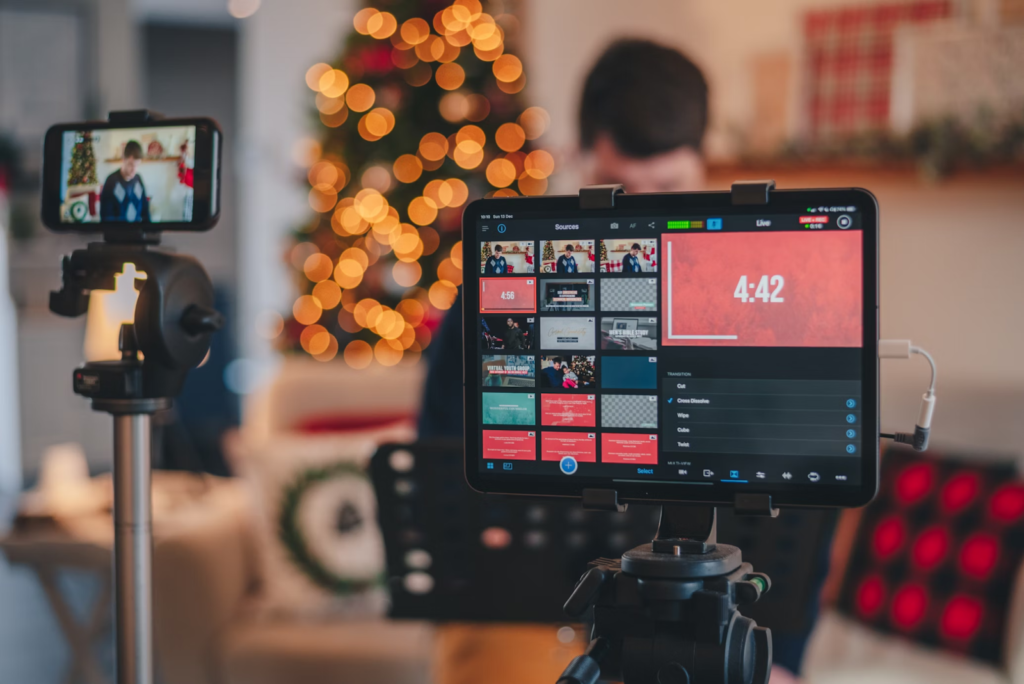
Evmux is a relatively new product in the live-streaming industry. It’s a web-based studio that allows users to broadcast live on different platforms simultaneously. That means you can go live on Facebook, Twitter, Instagram, and other social platforms simultaneously when using this software.
Evmux has an intuitive and user-friendly interface, making it an incredible platform for everyone, including beginners. Its web-based nature eliminates the constant need to install or download an app on your device. Currently, this system is available on PC and Mac and comes with an impressive list of built-in features.
How to Go Live On Facebook Group Using Evmux
Evmux allows you to have a hassle-free experience going live on Facebook. Here is a step-by-step process for using this live stream studio to stream live on your favorite Facebook group.
1. Open Evmux
Do you have an Evmux account? If not, start by opening one. Go to the web and search ‘Evmux Sign Up.’ Fill in your details, and confirm the login to your email. Similarly, you can log into your Evmux account if you already have one.
2. Create a New Session
The system will take you to a dashboard where you can create a new session after registration.
- Click ‘New Session.’
- The page will display a tab to add a title and another one to add a description.
- On the title box, write ‘stream to Facebook live’ and save
- In the description box, write a brief statement that provides more information about Facebook Live and what it will be all about.
- Save changes
3. Open Broadcast Channels
Once you save the title and description, click ‘Broadcast channels’ on your screen.
- Click ‘add’.
- The page will display a wide array of social platforms. Choose Facebook because you need to connect to a Facebook group account.
- After that, the system will prompt you to log into your Facebook account so that it can access the particular Facebook group you need.
- Login as required.
- After logging in, you will see a long list of all the groups you are a member of. Choose the one you need to livestream.
- A new tab will pop up, allowing you to add the Evmux app to your Facebook.
- Click ‘add’ so that the app appears in your group. Then, be sure to allow the app to access the Facebook group.
Once you accept the app on your group, a new window will appear, allowing you to create a title and description. Provide relevant information, as your group members will use the information you add to understand what the live stream entails. A compelling title and description can help you attract a larger audience.
Tap ‘save’ when done, and the app will immediately take you to live stream.
Note: Once you are done with this process, you don’t have to go live right away. You can still be scheduled for later in the schedule box on the left side of your screen.
You can also add an image to the thumbnail on your screen beneath the live streaming schedule.
Once you make the necessary changes, save and click ‘publish.’ The app will create an event inside your Facebook group so members can learn more about the live-stream session.
Why the Evmux Live Stream Studio Stands Out
Evmux live stream software was launched in January 2022 but has taken the industry by storm. The product is useful for marketers, content creators, musicians, educators, and even church ministries. Here are some features that make Evmux a compelling option for everyone.

Customizable templates—The wide range of inbuilt templates enhances the visual appearance of your live stream and facilitates ease of use. For instance, you can customize inbuilt titles in real-time and add animation features to enhance the live streaming experience.
Multi-streaming and collaboration—With Evmux, you can stream on more than one platform. The app allows you to manage live streaming, see comments, and keep viewers engaged. This feature allows you to reach a wider audience and save time.
Editing and recording – Evmux features offer Facebook live support for cloud-based editing and recording. You can create podcasts, interviews, and other high-quality recordings and use them on other platforms.
Co-host – You can invite your team members or co-hosts to the live stream and collaborate on managing it.
Final Remarks
Going live on Facebook can increase your exposure to the public and help you engage with customers in real-time. During this process, your viewers can share, comment, and even react to help you get prompt feedback on the stream.
However, the Facebook live stream process can be time-consuming and technical, so it is necessary to invest in quality tools to enhance it. Ultimately, Evmux live-stream studio is an incredible tool for making your next live-streaming session successful.
Try it for free today.
